Generate Schema
The document's Raw Text & Summaries must be available before you can generate a schema.
Schema generation takes the document summaries and produces a unified JSON Schema that defines the fields, data types, and structure for extraction.
How It Works
Schema generation uses a three-agent pipeline that runs sequentially:
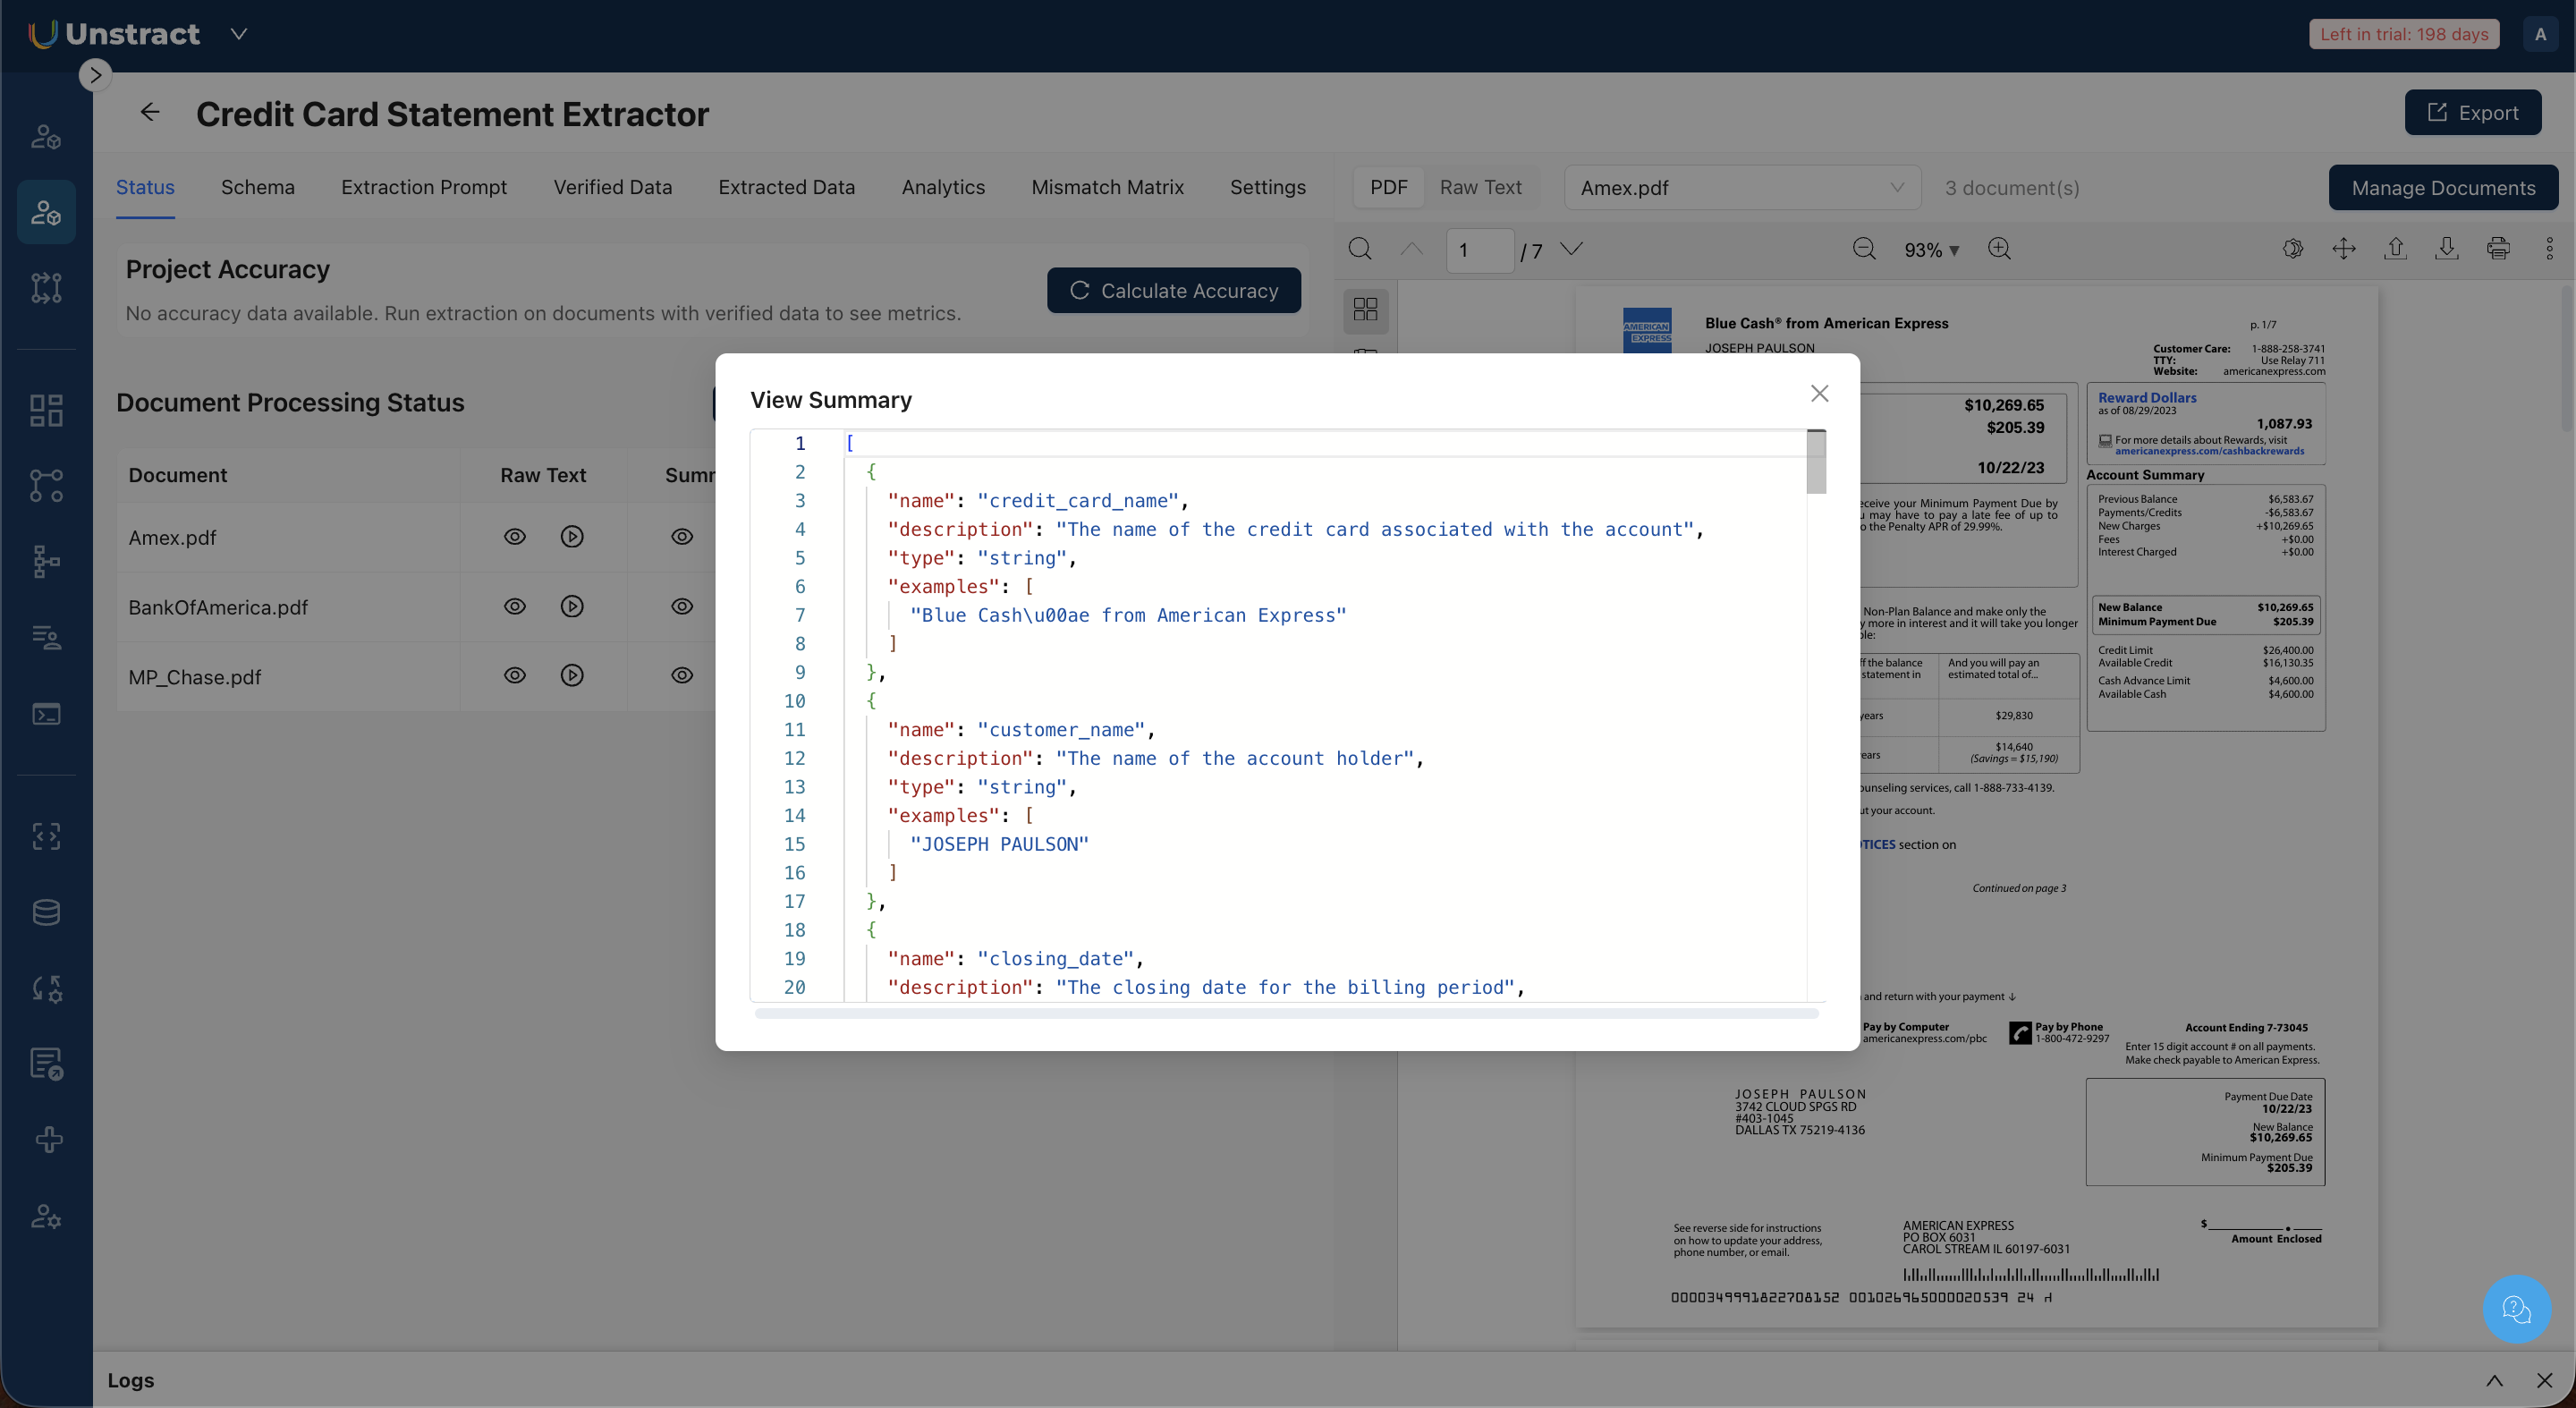
Agent 1: Summarizer Agent. Processes each uploaded document independently. For every document, it identifies all data fields present: names, data types, descriptions, and example values. Because it analyzes each variant separately, it captures fields that may only appear in certain document formats or layouts.
Agent 2: Uniformer Agent. Takes the individual summaries from Agent 1 and normalizes them. It recognizes that fields labeled differently across documents — like "Invoice No.", "Invoice #", and "Inv Number" — refer to the same data point. It merges equivalent fields, selects consistent naming conventions, and consolidates descriptions to reflect all observed variations.
Agent 3: Finalizer Agent. Converts the unified field map into a complete JSON Schema (Draft 07) with descriptions, example values, data types, required field designations, and nested structures (such as line items or address objects).
Generating a Schema
- From the Status tab, click Generate Schema.
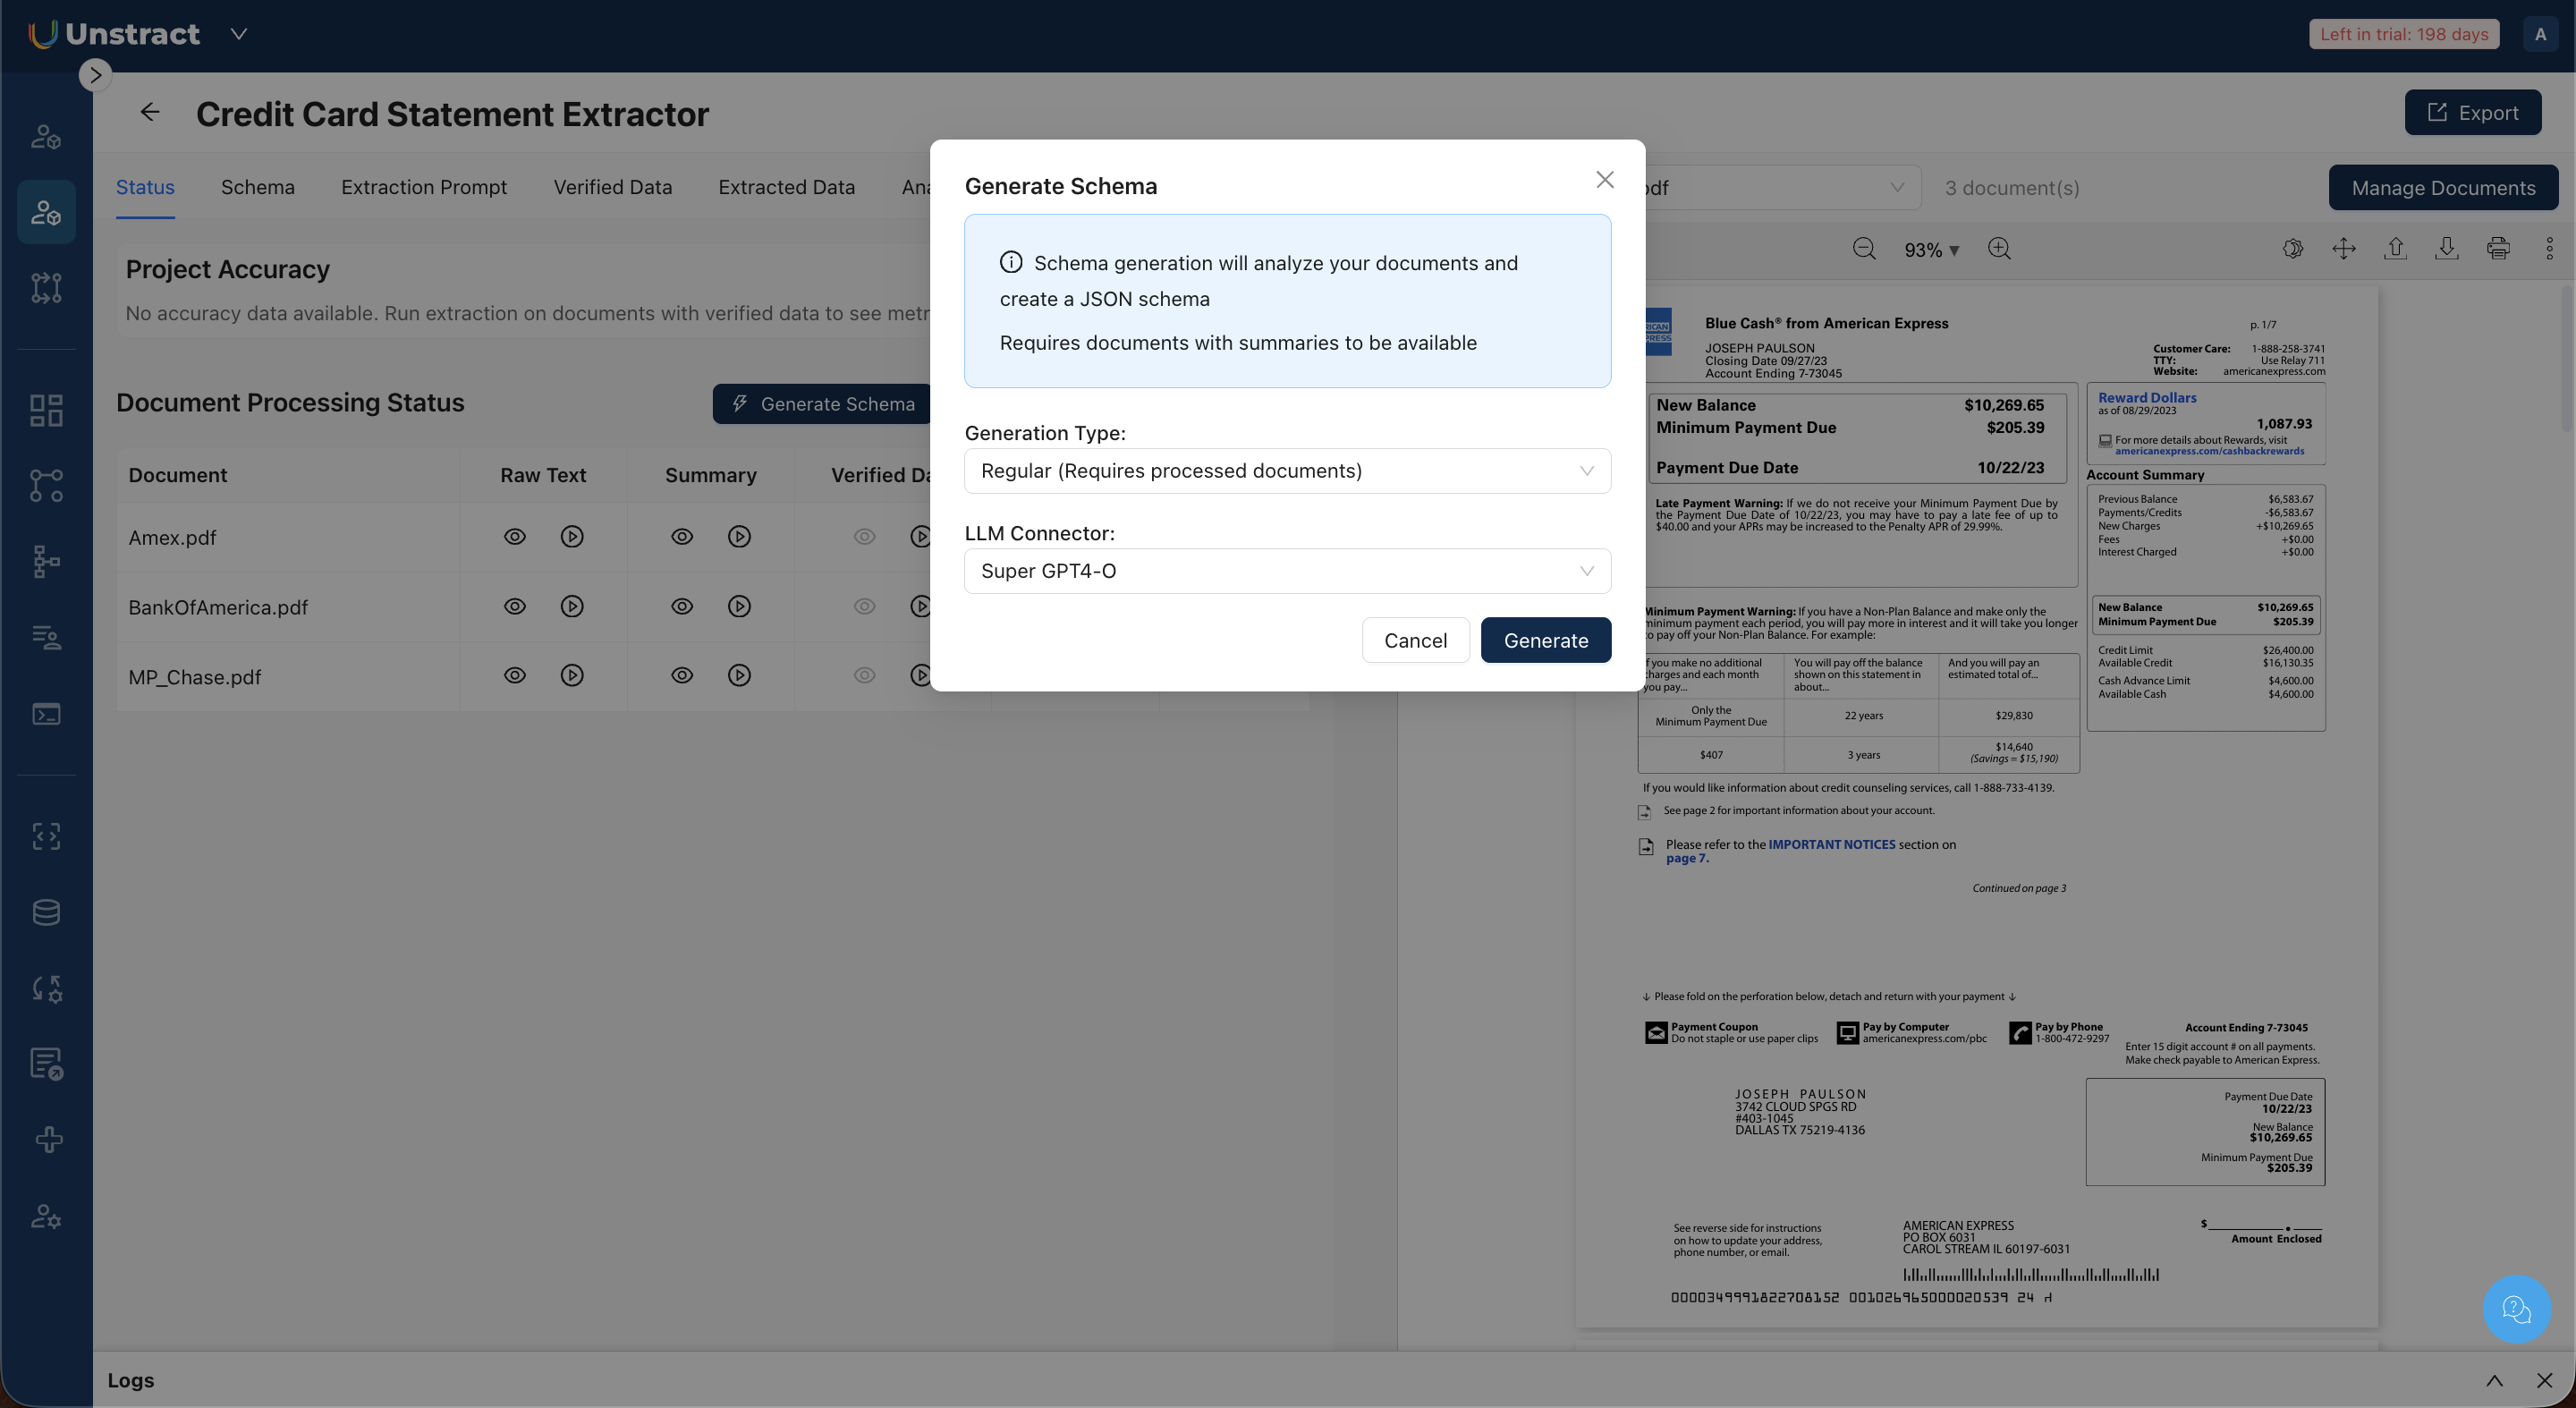
- In the dialog, select a Generation Type:
- Regular (Requires processed documents). Requires that document summaries are already available. Use this if you have already processed your documents' raw text.
- Lazy (Auto-process documents if needed). Resolves missing dependencies. If raw text or summaries have not been generated yet, the system processes them first before running schema generation. This is the most convenient option for new projects.

- Select an LLM Connector from the dropdown. This determines which model runs the agent pipeline.
- Click Generate.
When complete, a success notification appears and the schema becomes available in the Schema tab. You can also preview the schema from the status module.
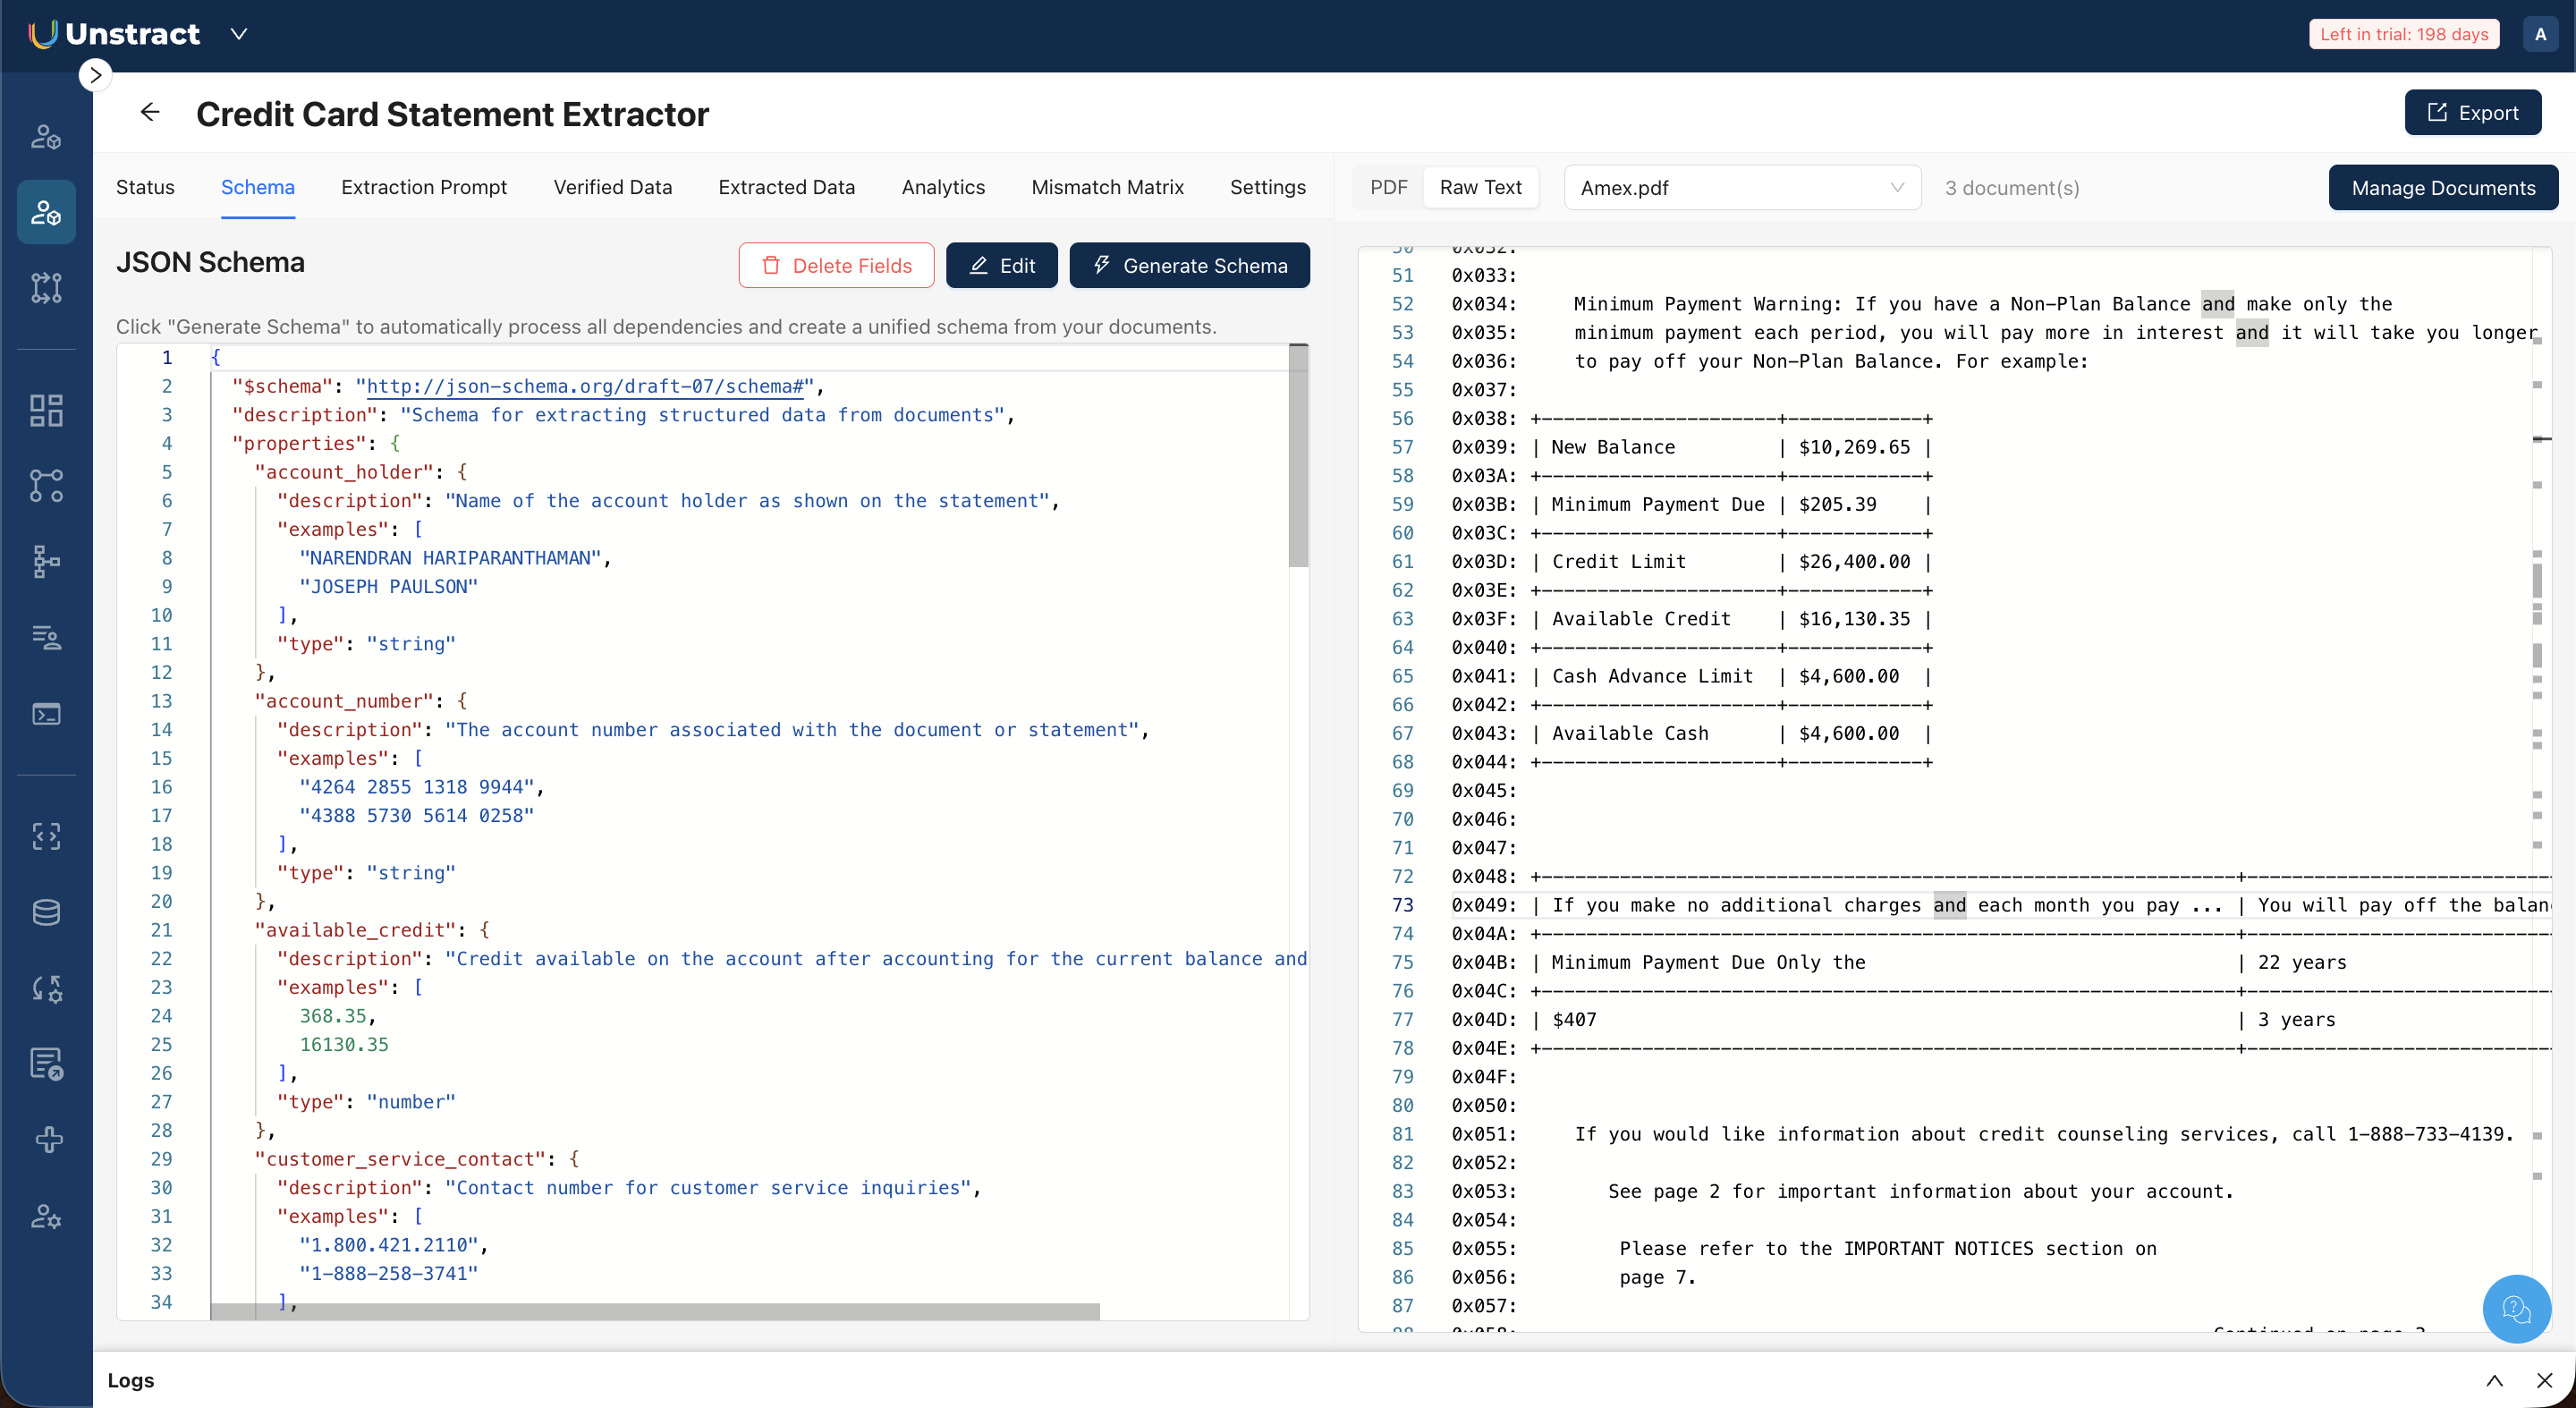
Viewing the Schema
Open the Schema tab to view the generated JSON Schema. The schema is displayed in a code editor alongside a PDF preview of the currently selected document.
Editing the Schema
If the generated schema needs adjustment — like adding a missing field, renaming a field, changing a data type, or updating descriptions:
- Click Edit in the Schema tab toolbar.
- Modify the JSON directly in the code editor.
- Click Save to apply your changes, or Cancel to discard them.
Deleting Schema Fields
To remove specific fields from the schema without manually editing JSON:
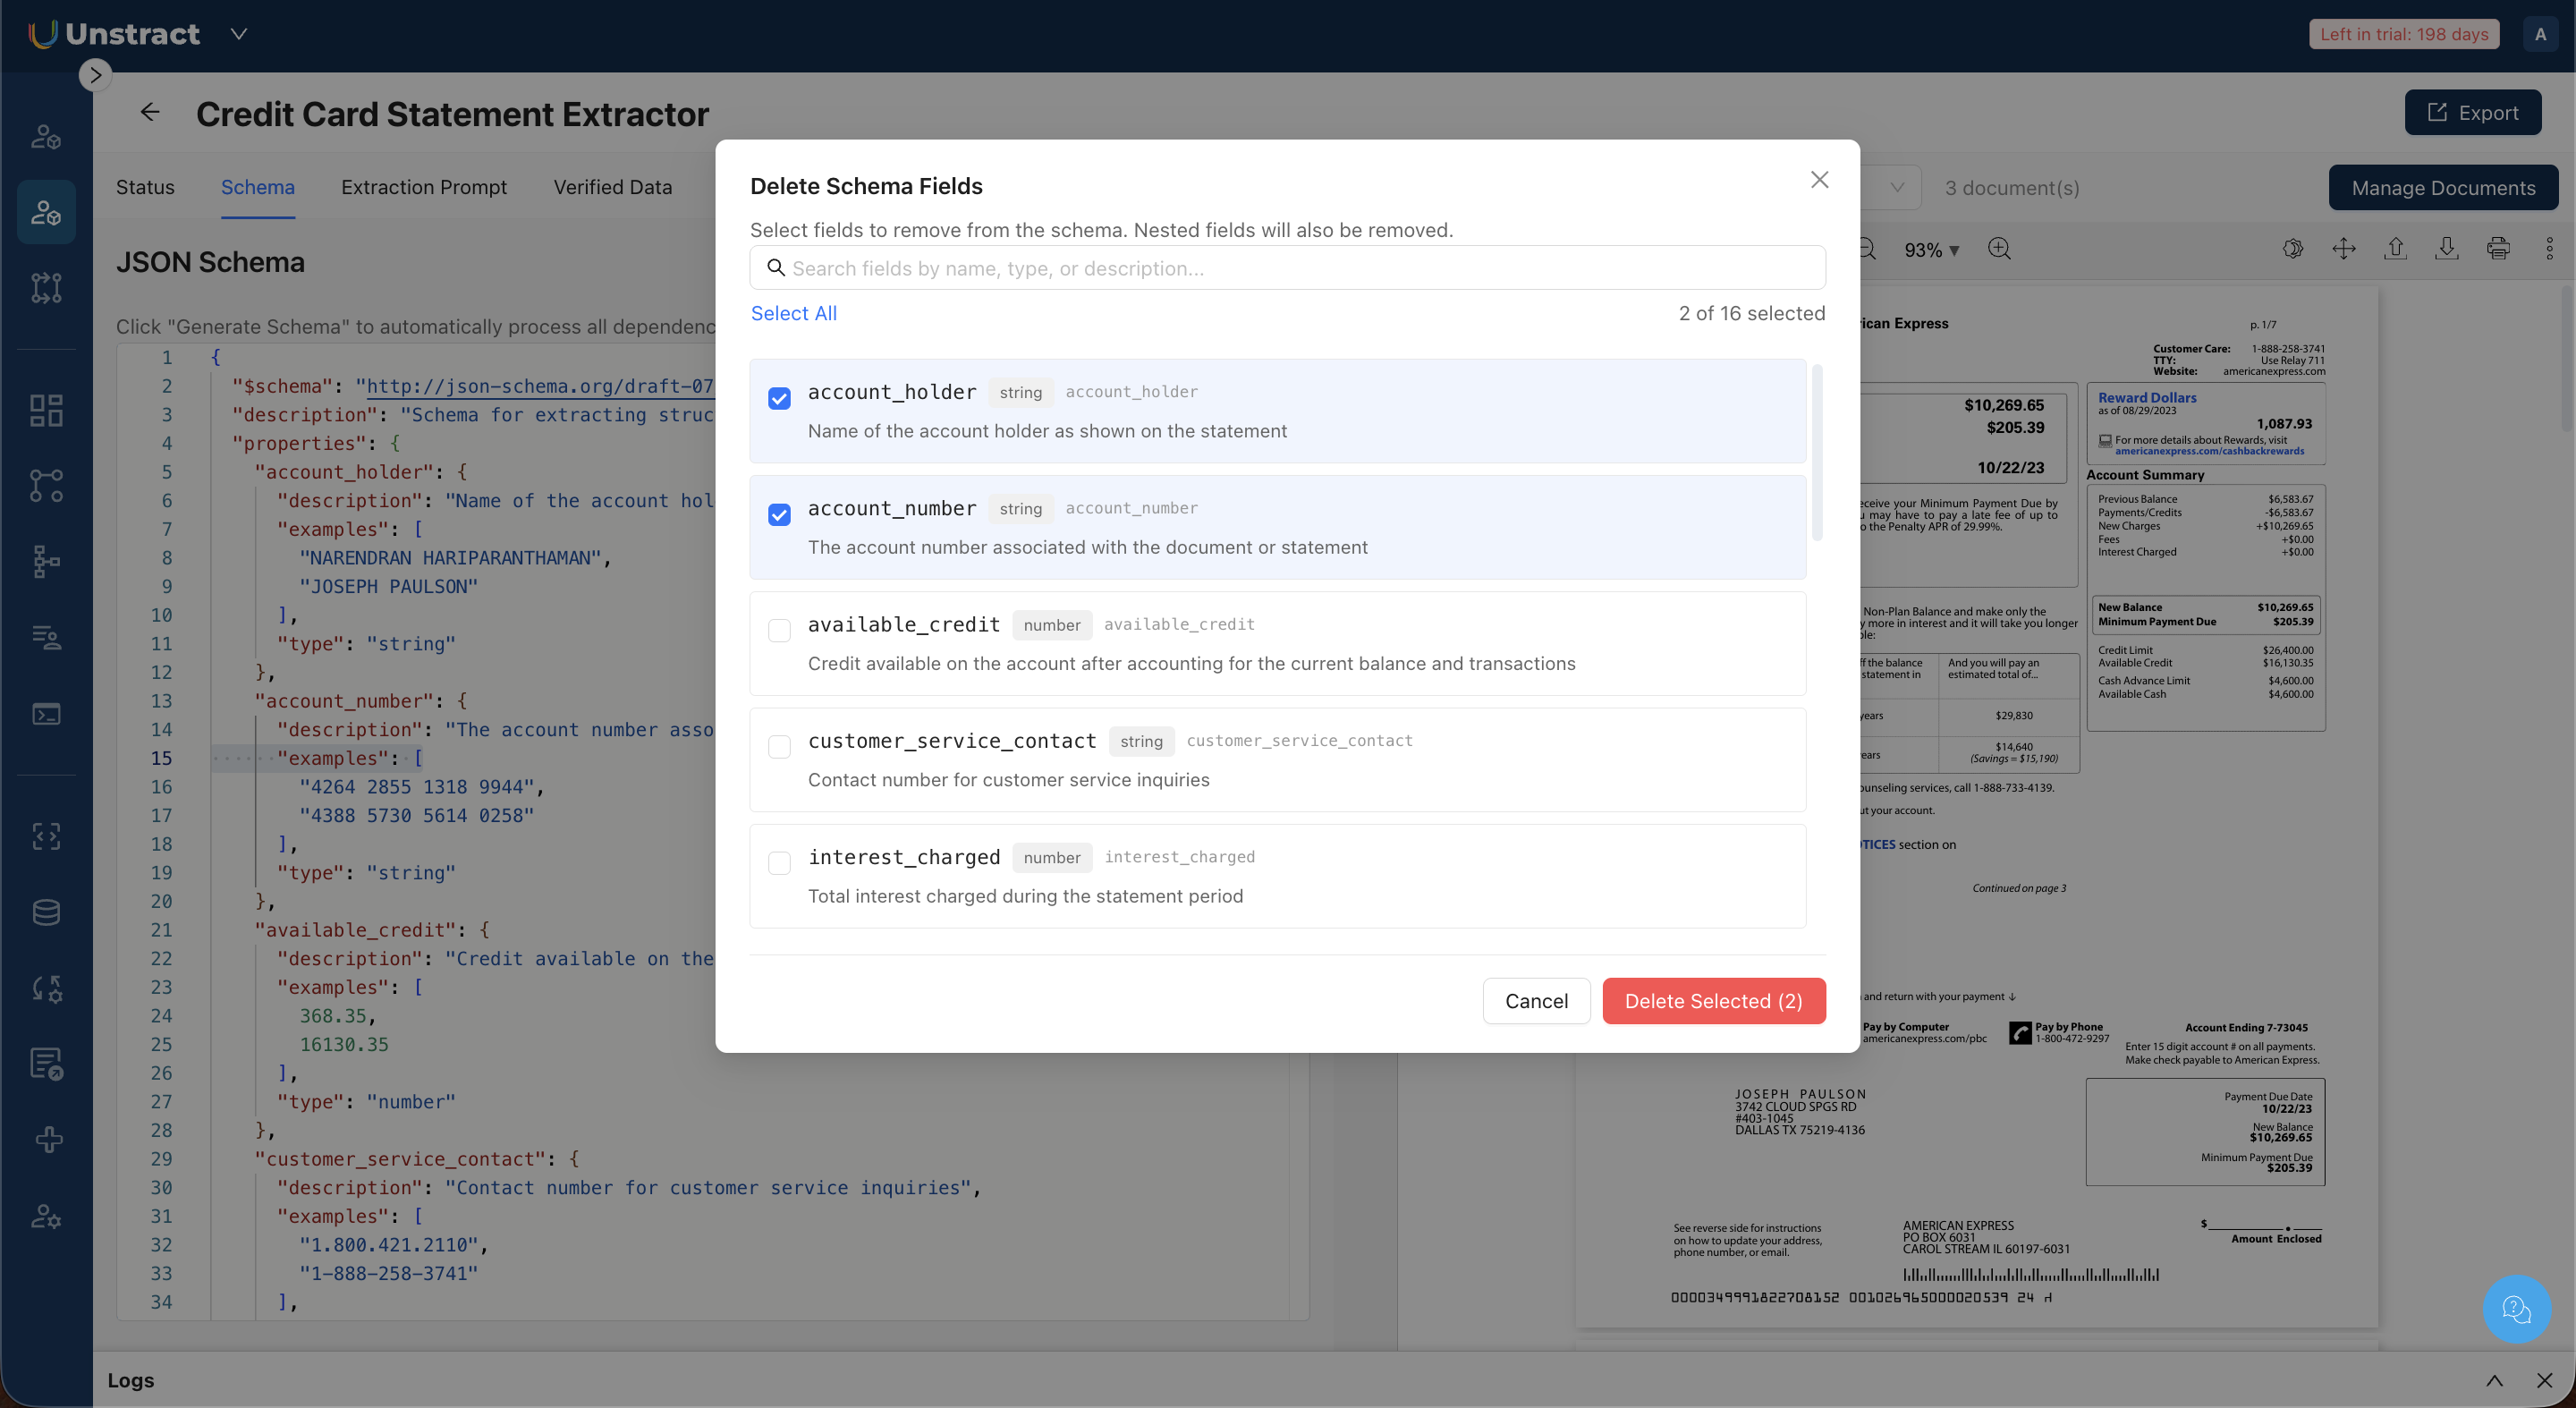
- Click Delete Fields in the Schema tab toolbar.
- A dialog displays all fields in the schema with their names, types, and descriptions.
- Select the fields you want to remove using the checkboxes. Use the search bar to filter fields by name, type, or description.
- Click Delete Selected (N) to remove the selected fields. Nested fields within a selected parent are removed as well.